可以直接跳转到tldr章节开始看
关于github pages
文档: https://docs.github.com/en/pages/getting-started-with-github-pages/about-github-pages
简单说就是可以在github上的repo发布一些html, github提供名为github page的服务使其可以在互联网上被访问
一个例子:
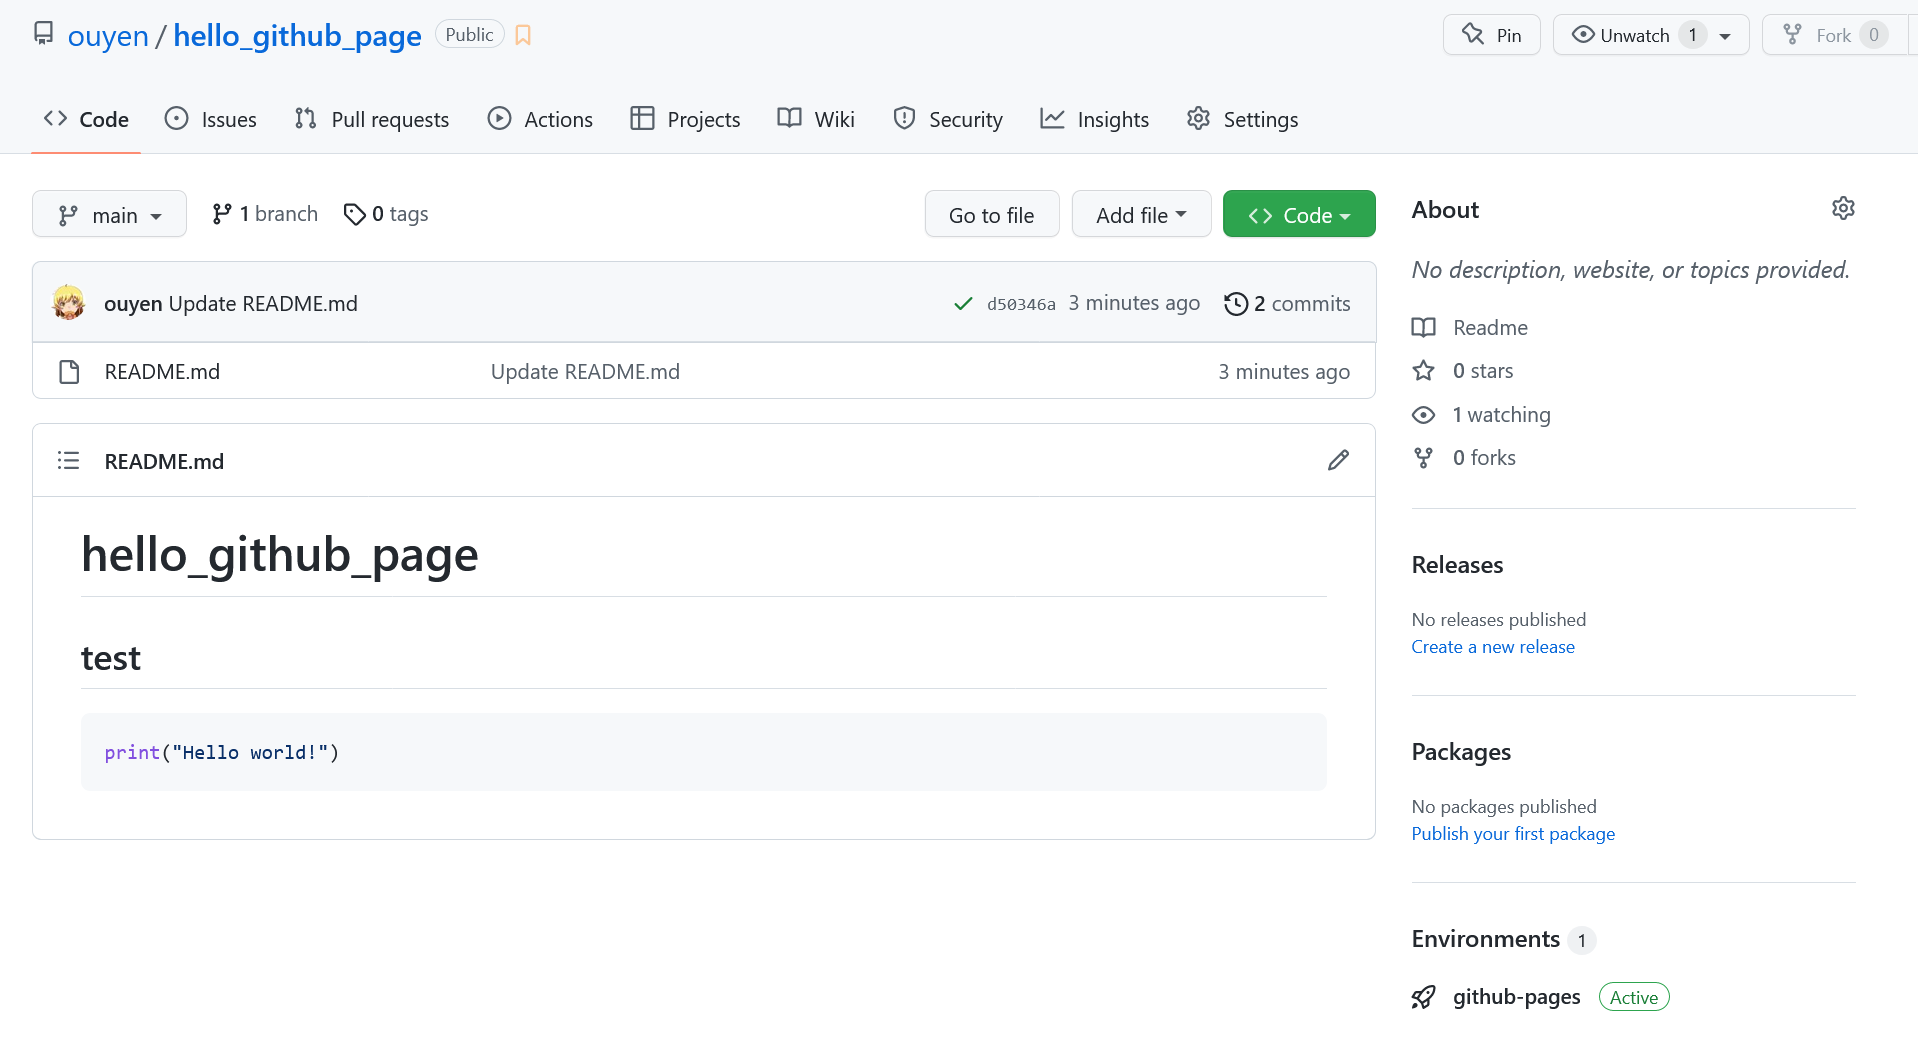
新建一个repo, 内容如下:
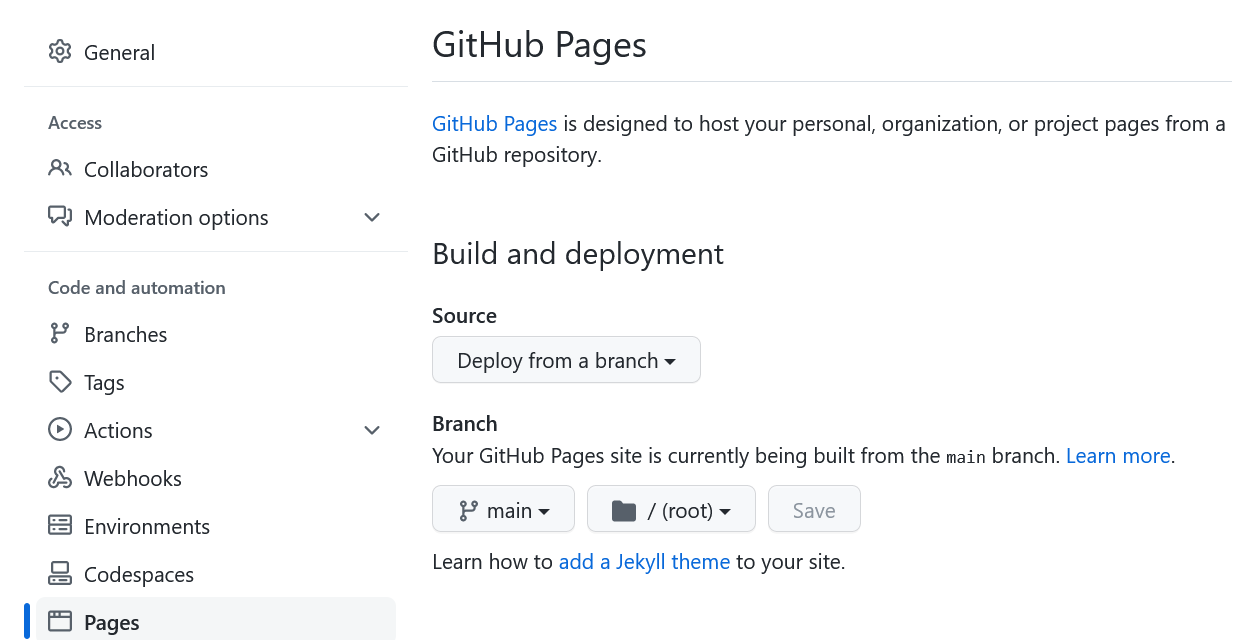
之后在setting-Pages-Branch上做如下选择,并save:

过一会就可以看到右下角的这个 github-pages (active)

点进去, 点击view deployment即可看到网页: https://ouyen.github.io/hello_github_page/

网页的命名规则为 https://{your_name}.github.io/{repo_name}/
github pages的内容顺序为: index.html>index.md>readme.md
即如果repo的根目录下有index.html, 则上述网网址显示的内容使用index.htm, 否则使用index.md(github会将markdown渲染为html), 最后选择readme.md
注: 如果不为main branch, 则只会选择index.html, 不会继续往下进行
特别的, 如果这个repo的名字为{your_name}.github.io, 则生成的网页为{your_name}.github.io, 我们通常将此repo用于个人博客,
当然, 你可以新建一个名字为blog的repo, 之后你的博客就在xxx.github.io/blog/了, 但是这样做的坏处在于seo等很多事情做起来可能会麻烦一点
我们搭博客的时候要做什么
出于懒惰, 我只想简单的写点markdown, 之后直接发布(由于缺乏艺术细胞, 直接使用默认)
那要做的事情:
- 写一堆markdown
- 将md转换(渲染)为一个静态网站(一堆html, css, js文件)
- 将这一堆文件放在github上, 并active pages
这之中或许最难的是第二部, 但是好在开源社区贡献了很多做这个的工具, 下面列举两个: hexo (使用node.js)和hugo(使用go)
hexo文档: https://hexo.io/zh-cn/docs/
Hexo 是一个快速、简洁且高效的博客框架。Hexo 使用 Markdown(或其他渲染引擎)解析文章,在几秒内,即可利用靓丽的主题生成静态网页。
hugo文档: https://gohugo.io/
Hugo is one of the most popular open-source static site generators. With its amazing speed and flexibility, Hugo makes building websites fun again.
hugo的渲染速度远高于hexo, 理论上我应该介绍hugo的使用方法, 但是由于博客是很久之前搭建的(使用hexo), 所以就懒得改了(或许某天就改了)
好了, 按理说接下来应该开始写一些hexo的安装了: 安装node, 安装hexo, hexo init… 但是, 出于方便(继续偷懒), 我再介绍一个强大的工具: github action, 有了它, 我们甚至只需要第一步(写一堆markdown), 之后在github上会自动转换这些md并部署
方法如下:
TLDR
- fork (and star) https://github.com/ouyen/blog_tamplate
- setting- General rename repository name to {your_name}.github.io
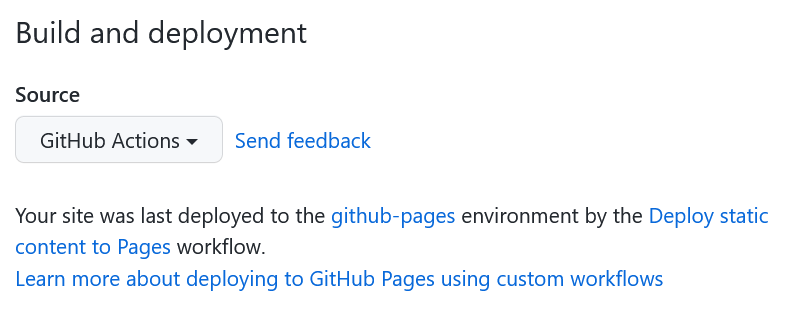
- setting-pages

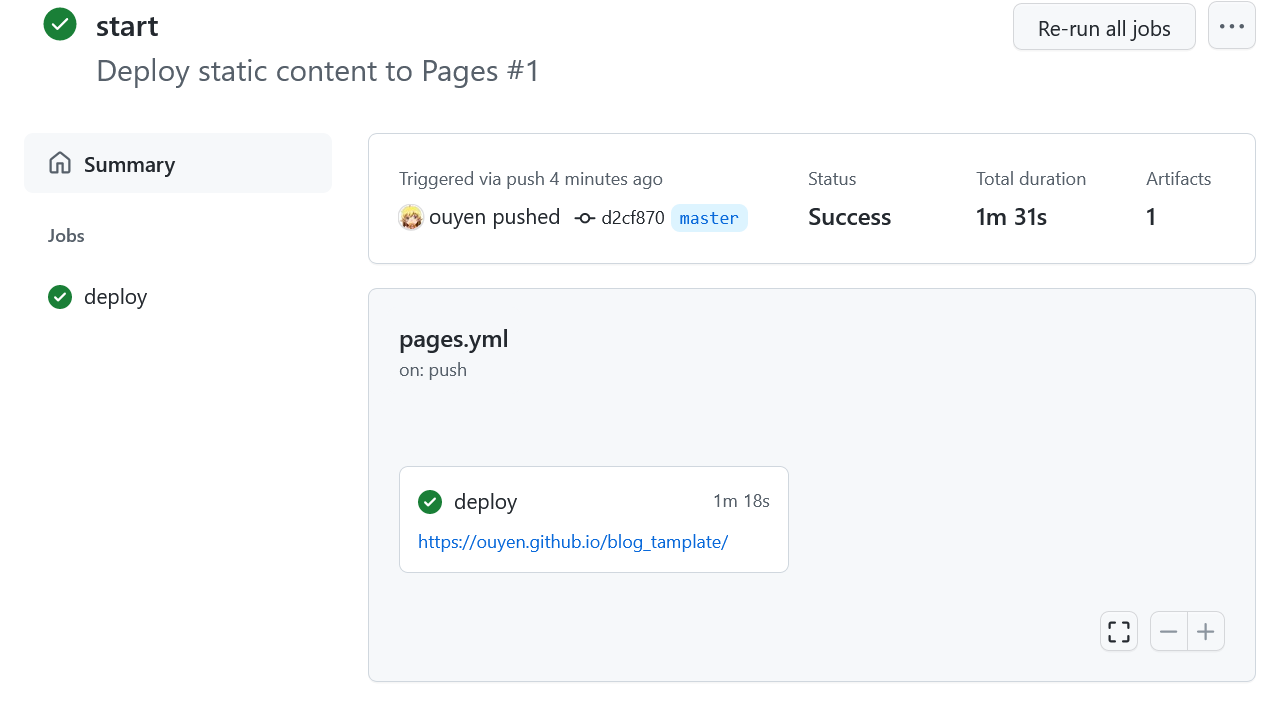
- 查看action, 等待运行完成(fork的仓库需要手动开启action)

之后就可以看到你的网站了:
- 不过还要进行一些config(比如配置自己的名字):
_config.yaml:
1 | # Site |
更改
-
title(网站名字)
-
author: 显示的你的名字(可以自定)
-
url: 网站的链接(为username.github.io)
简单的个性化:
themes/next/_config.yaml :
1 | social: |
在这里可以添加自己的各种联系方式
- 写一些markdown
md文件路径为source/_posts/, 可以参考hello_world.md
本地预览
- 安装node 14环境 (个人建议使用nvm)
npm install -g hexo-cli- (在repo目录)
npm install hexo ghexo s
如果没什么问题, 网站会在 http://localhost:4000 显示
进阶配置
自行查询hexo官网和next主题…